Summary: One or two sentences about how you design a lab. You will find useful information on that topic here. Mostly inspired by Natasha's and Rachel's work.
Designing an Open-Ended Lab: A Practical Guide
Introduction
Traditional laboratory exercises in science education often follow a predictable script: students receive a detailed procedure, follow the steps in order, record data into a pre-formatted table, and arrive at an answer that the instructor already knows. While this "cookbook" approach has value for teaching technique and safety, it does little to develop the skills scientists actually use in practice — asking good questions, designing a method to answer them, troubleshooting when things go wrong, and interpreting ambiguous results. Open-ended labs are designed to close that gap. Rather than telling students what to do, an open-ended lab gives them a problem, a set of constraints, and the tools to figure out a path forward themselves.
Designing a lab like this well is harder than it sounds. Give students too much freedom and no scaffolding, and the exercise collapses into confusion, wasted time, and frustration. Give too much structure, and it is not really open-ended at all — just a cookbook lab with extra steps. The goal of this essay is to lay out a practical framework for designing open-ended labs that are genuinely exploratory but still productive, safe, and aligned with learning objectives.
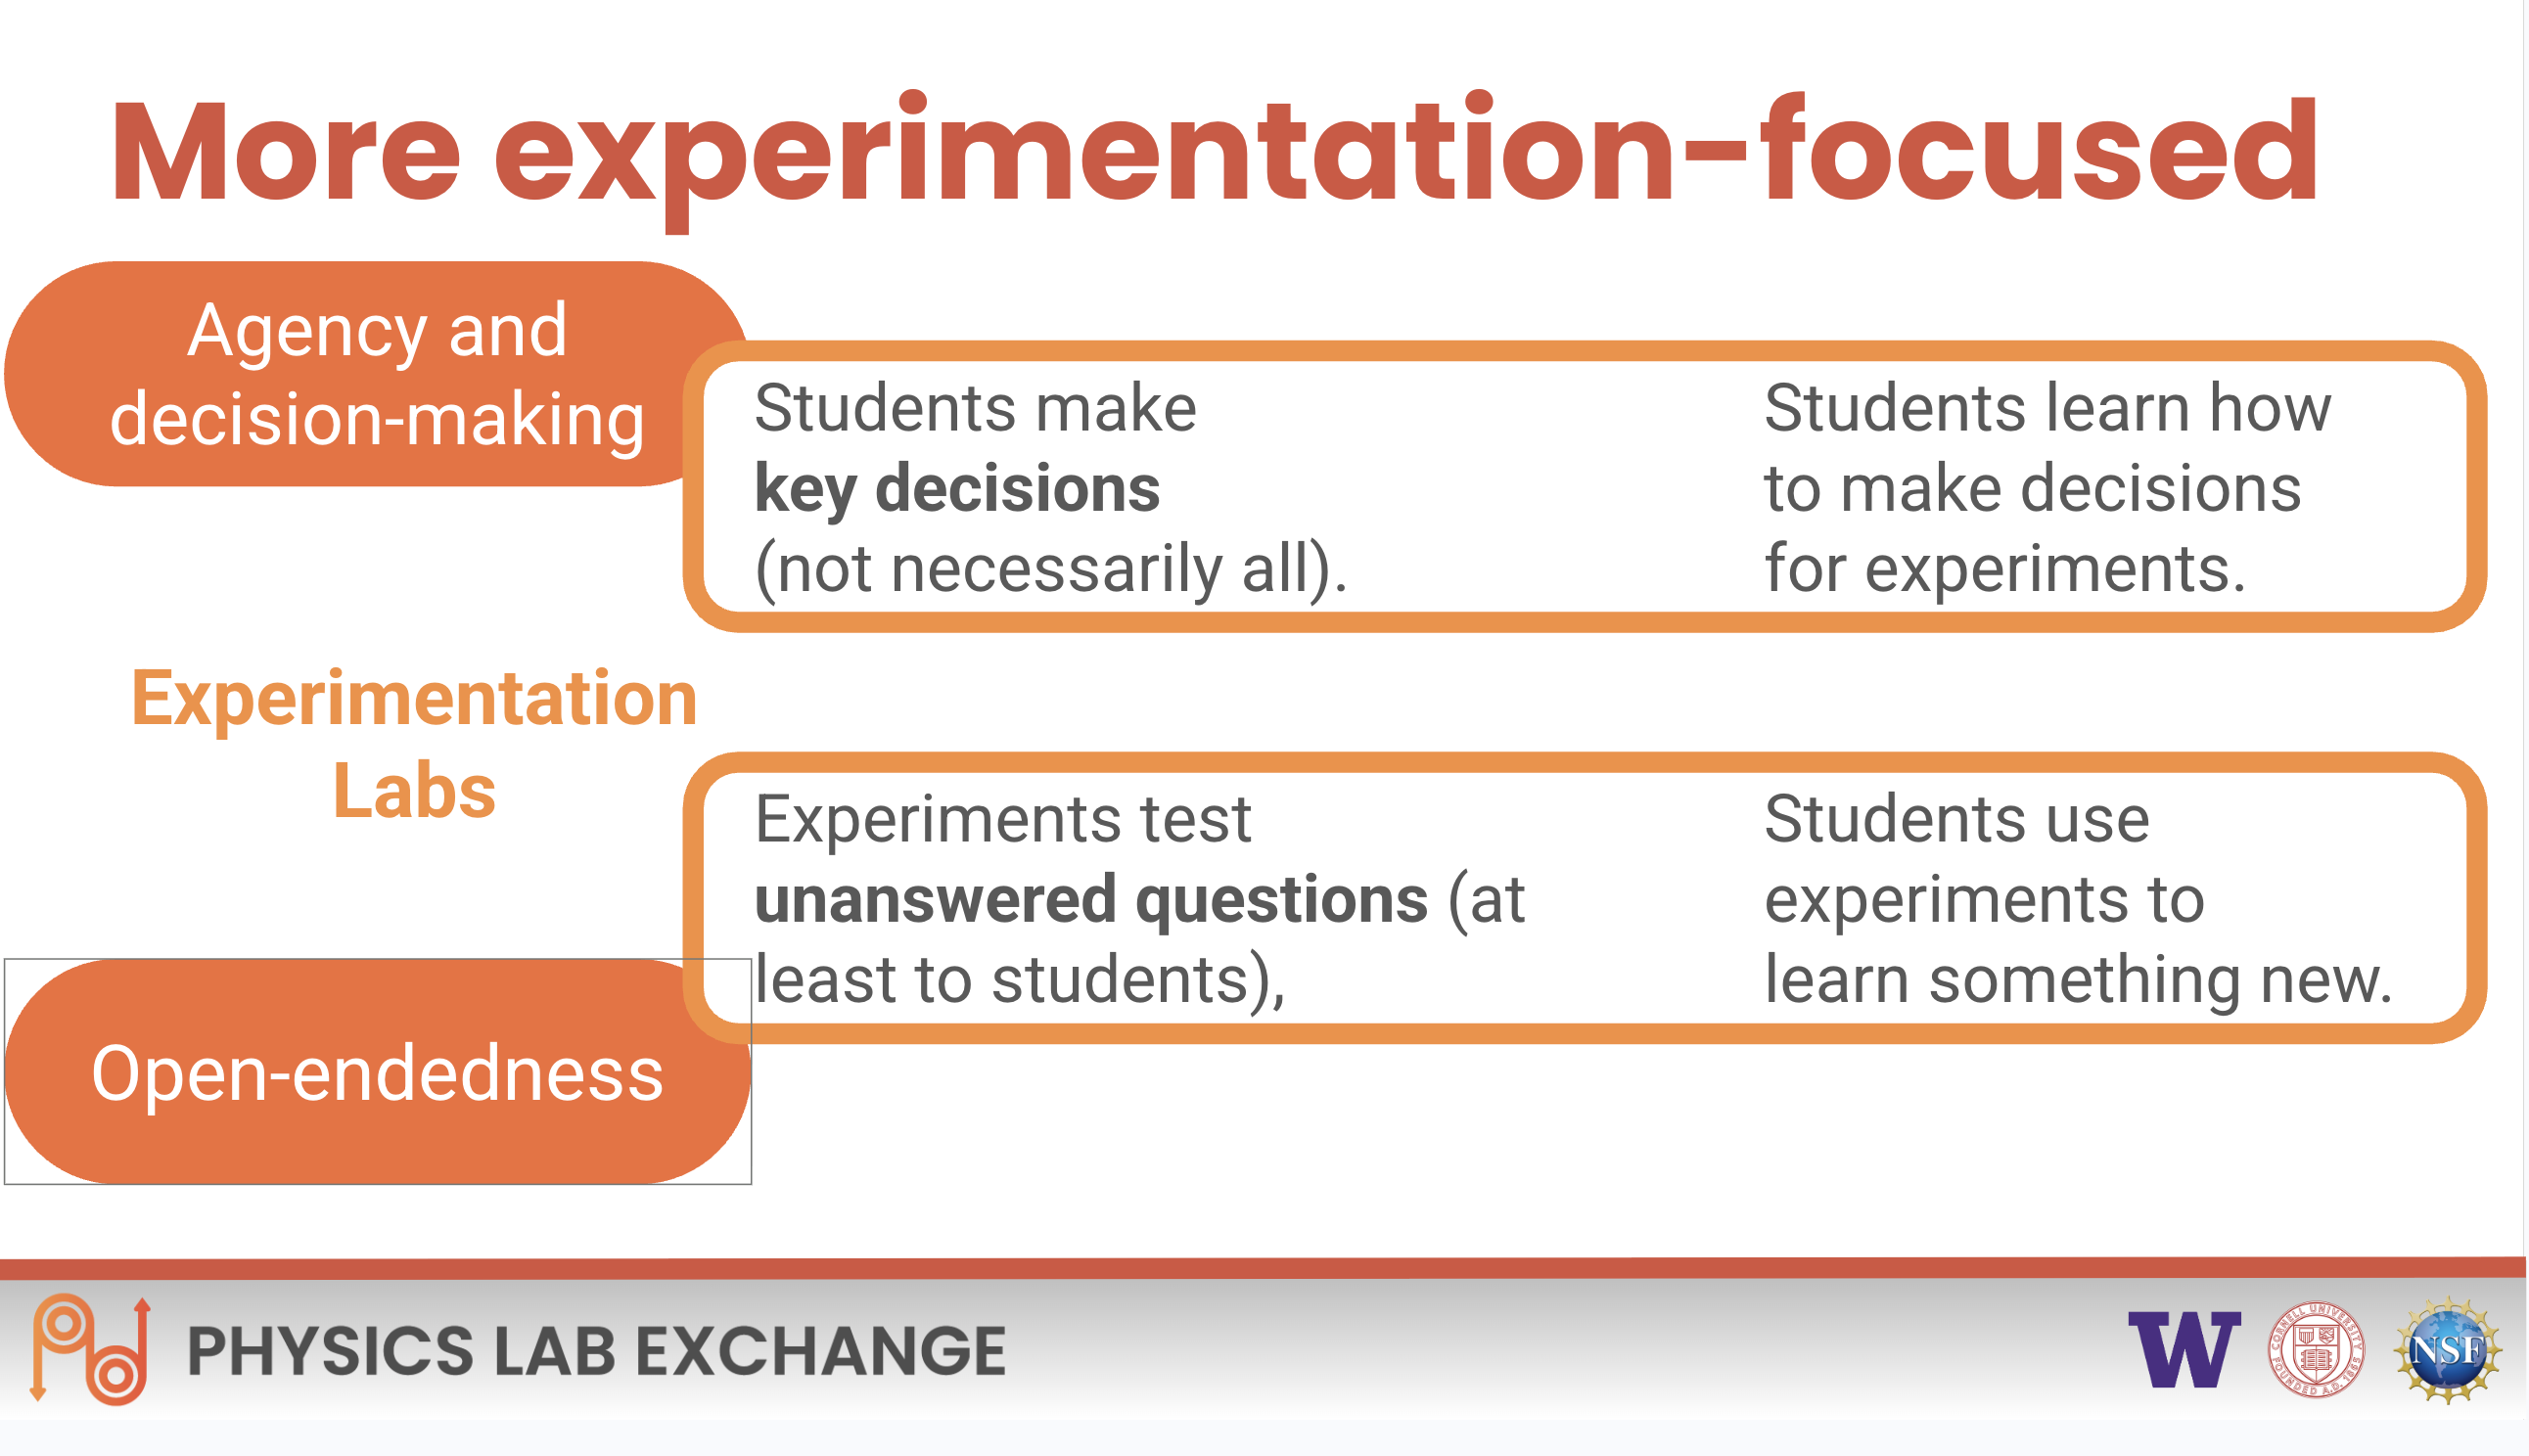
A screenshot
1. Start With the Learning Objective, Not the Activity
The most common mistake in lab design is starting with an interesting phenomenon or a cool piece of equipment and then trying to retrofit learning goals onto it. This tends to produce labs that are engaging but educationally unfocused. A better approach is to start by asking: what do I want students to be able to do or understand by the end of this lab that they couldn't do before?
Learning objectives for open-ended labs generally fall into a few categories:
Conceptual understanding — for example, understanding how enzyme activity depends on temperature and pH.
Procedural or technique-based skills — for example, learning to use titration, spectrophotometry, or a specific measurement instrument accurately.
Experimental design skills — for example, learning to identify variables, design a controlled comparison, and anticipate confounds.
Data interpretation and argumentation — for example, learning to draw conclusions that are appropriately limited by the data actually collected.
Open-ended labs are particularly well suited to the third and fourth categories, since those are precisely the skills that a cookbook lab cannot teach — you cannot learn to design an experiment by following someone else's design. But it is worth being honest about which objective is primary for a given lab, because that choice should shape everything downstream: how much structure to provide, what materials to offer, and how to assess the outcome.
2. Choose a Problem With the Right Amount of "Give"
The heart of an open-ended lab is the central question or problem students are asked to investigate. This problem needs a particular property that is easy to describe but tricky to engineer: it needs enough "give" that there are multiple reasonable ways to approach it, but not so much give that students have no idea where to start or lack the background to make progress.
A few characteristics of a well-chosen problem:
It has a real, discoverable answer, but not a single expected path to it. For example, "Does the concentration of an enzyme affect the rate of a reaction, and if so, how?" has a real answer, but there are several reasonable ways to measure "rate," several reasonable ranges of concentration to test, and several reasonable ways to control other variables. Compare this to "Measure the rate of reaction at these five specific concentrations using this specific method" — technically similar content, but with no design decisions left for the student.
It is scoped to the time and resources available. An excellent open-ended question that requires three weeks of continuous cell culture is not a good fit for a three-hour lab session. Scope the problem to what can plausibly be investigated, iterated on, and written up in the time allotted, including time for failure and re-attempts — which should be budgeted in explicitly rather than treated as a sign something went wrong.
It tolerates failure without wasting the session. Open-ended labs should be designed so that even a "failed" experiment — one that doesn't cleanly confirm a hypothesis, or where a procedure didn't work as planned — still produces something interpretable and something to learn from. If failure means students have literally nothing to analyze or write about, the problem is too fragile.
It connects to something students can reason about with prior knowledge. Complete novelty is disorienting. Students should be able to bring some existing intuition or classroom content to bear on the problem, even if the specific investigation is new to them.
3. Decide What to Constrain and What to Leave Open
"Open-ended" does not mean "unconstrained." In fact, the design work in an open-ended lab is largely about deciding, deliberately, which parts of the experience will be constrained and which parts will be left for students to determine. Useful categories to think through explicitly:
Materials and equipment: Will students choose from a fixed set of available materials, or can they request additional ones? A bounded but reasonably rich set of options (e.g., "you may use any of these ten reagents and this list of instruments") is usually more productive than either a single fixed kit or an unlimited stockroom, because it forces decision-making without inducing paralysis.
Variables: Will students choose their own independent and dependent variables, or will these be specified while the method of measuring or manipulating them is left open? For early-stage open-ended labs, it's often useful to fix the variables of interest and leave the method open; for more advanced students, leave variable selection open too.
Group structure and roles: Will students work individually, in pairs, or in larger groups? Larger groups permit more ambitious designs but risk uneven participation; smaller groups increase individual engagement but may limit what can be attempted.
Time checkpoints: Even an open-ended lab benefits from structured checkpoints — for example, requiring a brief design proposal before materials are issued, or a mid-session check-in. These checkpoints are not there to constrain the science, but to catch design flaws or safety issues before they consume the whole session, and to create natural moments for instructor feedback.
Safety boundaries: Any open-ended lab involving chemicals, biological materials, or equipment with real hazards needs non-negotiable safety constraints established up front — approved reagent lists, maximum quantities, disposal procedures — that are separate from the scientific design space students get to explore.
A useful mental model is a "sandbox with walls": inside the walls, students have real freedom to explore, fail, and redesign; the walls themselves exist for safety, feasibility, and pedagogical focus, not to disguise a fixed-answer lab as an open one.
4. Build in a Design Phase, Not Just an Execution Phase
One of the biggest differences between an open-ended lab and a cookbook lab is that students need to design their approach before they can execute it — and this design work should be treated as a distinct, valued phase of the activity rather than something to rush through.
A simple and effective structure is:
Question refinement: Students take the broad prompt and narrow it into a specific, testable question.
Design proposal: Students sketch their planned method, including what they will measure, what they will hold constant, what equipment they will use, and roughly how many trials or conditions they will run. This can be a short written form, a diagram, or a brief conversation with the instructor — the format matters less than the requirement that it happens before materials are handed out.
Instructor check-in: A brief review, not to approve a single "correct" design but to catch designs that are unsafe, infeasible in the time available, or missing an obvious control. This is a good moment to ask a clarifying question rather than hand over a fix — "What will you compare this measurement against?" does more for learning than "You need a control group."
Execution and iteration: Students run their procedure, observe what happens, and are given room to revise their approach if early results suggest a problem — this is often where the most genuine learning happens, and it should be treated as expected rather than as a sign of failure.
Analysis and reflection: Students interpret their data and, critically, reflect on the limitations of their own design — what would they do differently, what alternative explanations exist for their results, what would they need to test next.
This structure gives students real ownership of the experimental design while still providing enough instructor contact to prevent wasted time or unsafe attempts.
5. Support Productive Struggle Without Removing It
Open-ended labs are supposed to involve some degree of struggle — uncertainty about what to measure, dead ends in the initial approach, results that don't match expectations. This struggle is not a bug; it's where much of the value lies. But there's a meaningful difference between productive struggle (which builds skill and confidence) and unproductive frustration (which mainly builds anxiety and resentment of the activity).
A few practices help keep struggle productive:
Circulate and ask questions rather than give answers. When a group is stuck, resist the urge to tell them what to do. Ask what they've observed, what they expected, and what that gap might mean. This keeps the reasoning work with the students.
Normalize revision. Make it explicit, ideally in the instructions themselves, that revising a design mid-session is expected and not penalized. Students who think their first plan must be their only plan will often freeze rather than adapt when something doesn't work.
Provide a low-stakes way to ask for help. A visible signal system (a flag, a colored cup, a shared question queue) lets students request instructor attention without the social cost of raising a hand and announcing confusion to the room.
Separate "did the experiment work" from "did you learn something." Assessment criteria should reward good reasoning, honest reporting of what happened, and thoughtful interpretation — including of negative or messy results — rather than rewarding only the groups that happened to get a clean, expected outcome.
6. Assess the Process, Not Just the Outcome
Because open-ended labs are meant to develop experimental reasoning rather than reproduce a known answer, assessment needs to shift accordingly. Grading primarily on whether the final result matches an expected value undermines the entire premise of the exercise and pushes students back toward risk-averse, cookbook-like behavior. Instead, consider assessing:
The clarity and testability of the question students settled on.
Whether the design included appropriate controls and accounted for obvious confounding variables.
The quality of the students' interpretation of their actual data, including appropriate caveats about sample size, measurement error, or uncontrolled variables.
Evidence of iteration — did students notice a problem with their initial approach and adapt it?
The honesty and specificity of the reflection on limitations and next steps.
A rubric built around these dimensions signals to students, before they even start, that the process of reasoning through an ambiguous problem is the actual point of the exercise.
Conclusion
Designing a good open-ended lab is an exercise in engineering constraint, not removing it. The instructor's job shifts from writing a precise procedure to defining a well-scoped problem, deciding deliberately what to leave open and what to fix, building in a genuine design phase, and creating conditions where struggle leads somewhere useful rather than nowhere at all. Done well, an open-ended lab gives students a small, safe taste of what real scientific investigation actually feels like: uncertain, iterative, occasionally frustrating, and ultimately far more instructive than following someone else's instructions to a predetermined end.